Back To Main Index
INSTALL, TEST AND USE IIS 5.X ON WINDOWS XP Pro SP2 MACHINE
(This will be used for the program examples 'test bed' created in winsocketdotnetworkprogramming)
In this step-by-step and full with screenshots page, we will try to install, do some tweaking on the IIS configuration and test the IIS web server with a simple web page. The IIS version is 5.x, done on Windows XP Pro with SP2. You may need the original Win XP Pro SP2 installation CD to complete the tasks in this tutorial.
First of all, let check the IIS was installed or not on the designated Windows XP machine. Go to the Start > Administrative Tools > Verify whether Internet Information Services link (to its snap-in) is there. In the following screenshot example, it is not there.

If the Administrative Tools link is not visible, right-click mouse on the Start menu > select Properties context menu.

In the Start Menu page, click the Customize button.

In the Advanced page > Start menu items: > scroll down > select the first or second radio button for the System Administrative Tools > Click OK to close and save the settings.

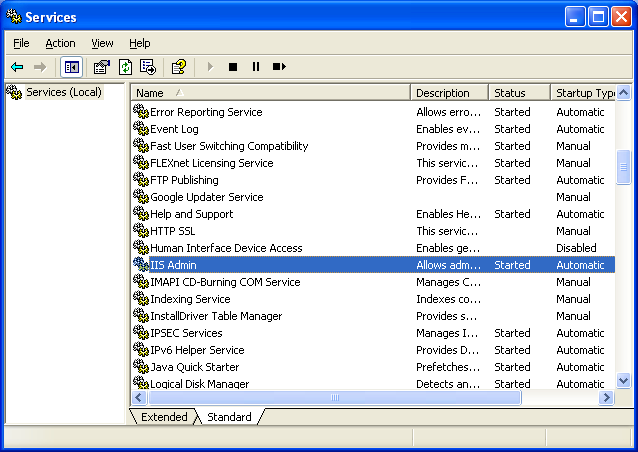
Then, check the IIS Admin service. Start > Administrative Tools > Services > Verify that the IIS Admin is there and started. In the following screenshot, it is not there. Well, the IIS in not installed on this machine.

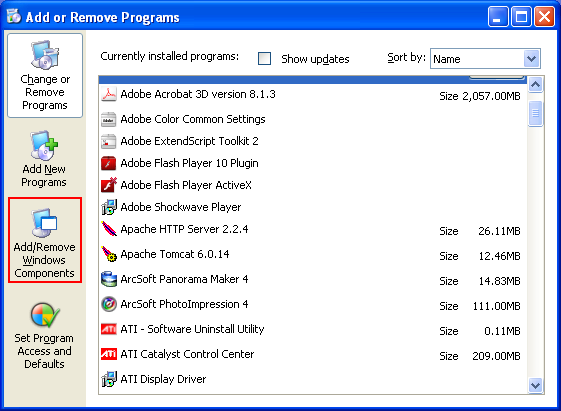
Now, we need to install the IIS service and you may need to provide the Windows XP Pro SP2 installation CD. Click Start > Control Panel > click Add or Remove Programs category.

In the Add or Remove Programs page, click the Add/Remove Windows Components on the left-side bar.
----------------------------------------------------------------------------------------------------
Select (tick the check box) the Internet Information Services (IIS). Then to refine the IIS service components installation, click the Details button.

Customize as needed. In this case we select all the subcomponents.

Select the World Wide Web Service > click the Details button. We can refine this subcomponent even further.

Customize as needed. In this case we select all the World Wide Web’s subcomponents. Click OK

Click the OK button.

The Windows Components Wizard will start installing and configuring the selected Windows components and its subcomponents. In this case, the IIS and related services components.

Please insert the original CD that you have used to install your Windows OS.

Or if the installation CD or image has been stored in the local drive, you can click the Browse button and find the %i386 folder.

When the installation and configuration tasks completed successfully, you will be greeted by the following page. Click the Finish button.

Next, do the verification. Start > Administrative Tools > the Internet Information Services short cut to the IIS snap-in page should be there.

Check the IIS Admin is started and running. Start > Administrative Tools > Services.
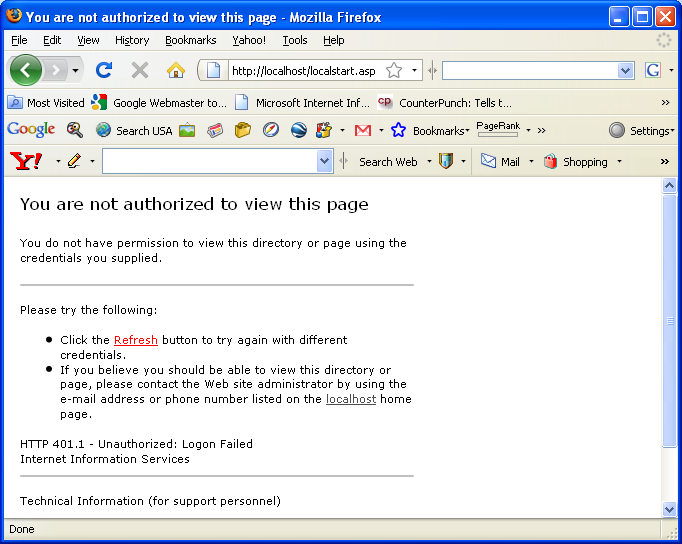
Then, let test the IIS web server. Launch any browser that you have and type http://localhost/ or http://127.0.0.1 as shown below. Well, all the IIS default settings provide the following page. We need to configure some part of the IIS.
--------------------------------------------------------
Open the IIS snap-in. Start > Administrative Tools > Internet Information Services.
The following Figure shows the IIS snap-in.
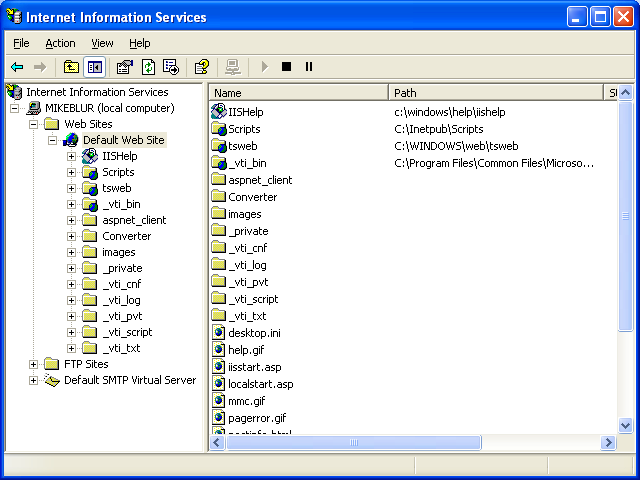
Select the Default Web Site folder > right-click mouse > select Browse context menu.

The default main page will be displayed on the right side.

Next, select the Default Web Site folder again > right-click mouse > select Properties context menu.

Select the Document tab. Move the index.htm page to the top. This will be the first page that will be served to user. In this case, physically, we don’t have the Default.htm and Default.asp files. If the index.htm file not available, the next file, the iisstart.asp will be served to user.

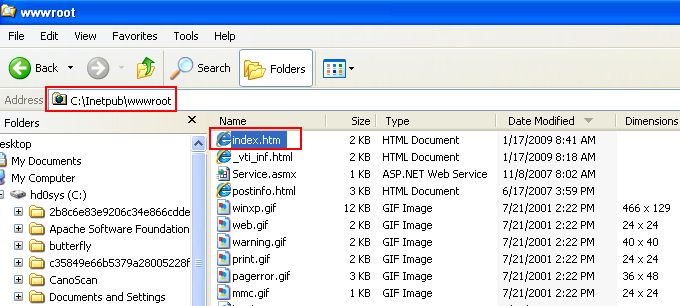
Then, click the Home Directory tab. The physical local path is C:\inetpub\wwwroot. You can change to other directory or redirect it to other valid URL. Just keep this setting as is.

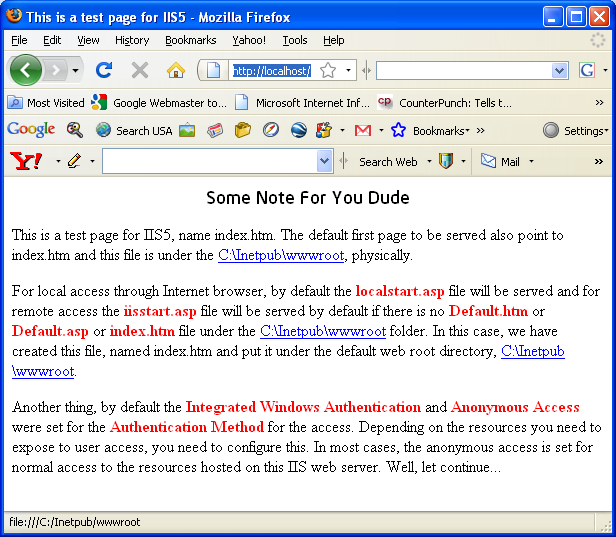
Next, use any HTML or text editor to create a default index.htm page and put it under the C:\inetpub\wwwroot folder. The following content is created by writer; you can put any content in this case. Don’t forget to save the htm file.

Then, go to the IIS snap-in again > select the Default Web Site folder > right-click mouse > select Browse context menu

The new default or first web page will be displayed. Keep in mind that the previous steps are done locally or physically.

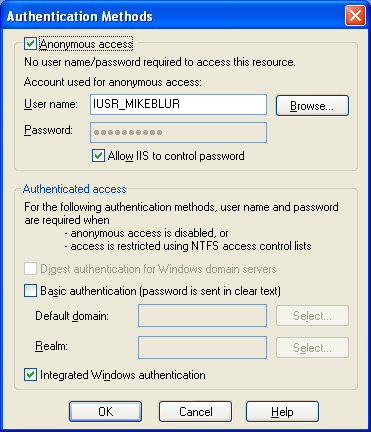
Next, select the Default Web Site folder again > right-click mouse > select Properties context menu. Select the Directory Security page. Click the Edit button for the Anonymous access and authentication control.

Two default settings are in effect as shown below which are Anonymous access and Integrated Windows authentication. For normal remote user to access our web site without prompted by the login page, only the Anonymous access needs to be checked. So, un-tick the Integrated Windows authentication check box. Keep in mind that if you leave the Integrated Windows authentication checked, you still can access the web site locally or physically (the IIS will use your Windows login credential in this case), however it will fail for remote access.
Let test the main default page from Internet Browser. Before that please restart all the IIS related services using the Windows Services snap-in.
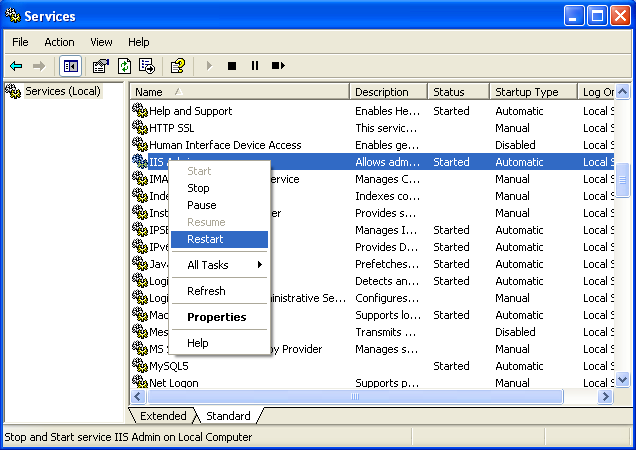
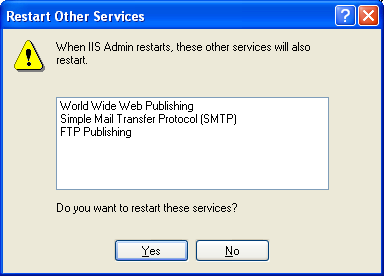
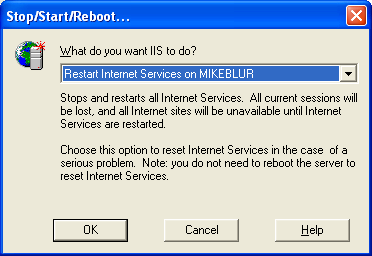
Click the Yes button of the following window for restarting all the hosted services under the IIS Admin or you can just select the World Wide Web Publishing service.
Or stop and then re-start the web server through the IIS snap-in. However we found that in many occasions these steps are not effective.
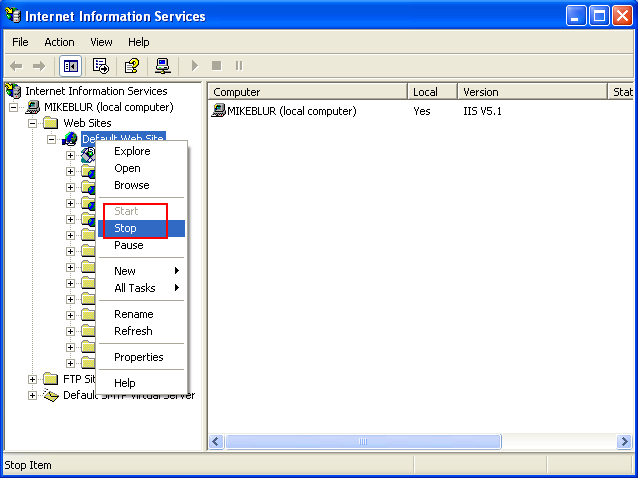
Or select the computer folder > right-click mouse > select All Tasks context menu > select Restart IIS.

Then, try accessing the web locally, through the Internet Browser using the http://localhost or http://127.0.0.1 as the address. Well, the following screenshots for Internet Explorer and Firefox look fine which means that our IIS web server is functioning (at least accessed locally). You may want to test the IIS server from other computer in the same network.
If there is any error message displayed when accessing the web server from the remote computer such as “401.1 HTTP 401.1: Denied by invalid user credentials” and other 401.x code or “You are not authorized to view this page” or “…Permission denied: 'GetObject'…” , refine the Directory Security in the Web site’s property page at the web site and/or file level.

Well, with the IIS in the working mode, we are ready to use it for web services related applications testing for winsocketdotnetworkprogramming.Thank you for reading this article. Have a nice IIS’ing!