< An Intro To .NET Web Service Programming | Main | Adding the Web Service Reference (proxy class) >
Chapter 11 Part 2:
XML Web Services and the Network
What do we have in this chapter 11 Part 2?
-
Creating and Consuming the ASP .NET Web Service and C# Program Example
-
The ASP .NET Web Service Application
-
Running and Testing the Web Service Application
-
The C# Console Application
-
Setting-up the IIS Web Server
|
|
Creating and Consuming the ASP .NET Web Service and C# Program Example
In this exercise we will create two projects. The first one is C# console mode application which will be used to send two numerical values to the web service application and display the received result while the second one is the ASP .NET web service application which will receive the two numerical values, do the selected numerical operation and then return the result back to the console application. Take note that both projects will be created in different solutions with different locations on the local machine. The web service will be created directly in the local IIS web server in the purpose to demonstrate the 'real' web service deployment. In this case, the IIS and ASP .NET are assumed to be setup, configured and running on your local machine.
The ASP .NET Web Service Application
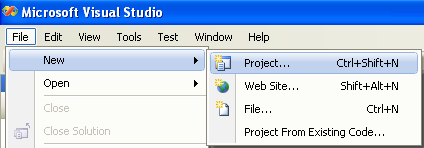
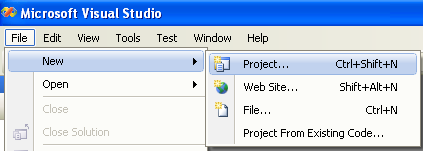
Firstly, let create a new ASP .NET web service Application.
You can use the project and solution names as shown in the following screenshot. Take note that we will create this project directly in the physical folder ant path of the IIS web server. Depending on your local IIS web server settings, you can change it accordingly.
|

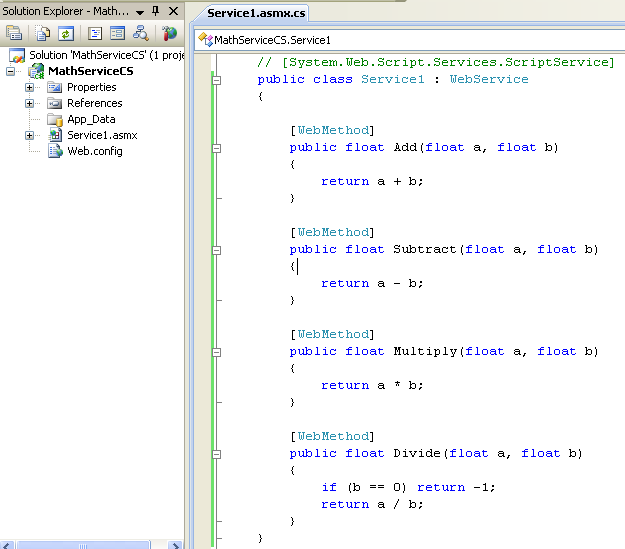
Add/edit the web service code as given below. There are four simple methods which represent simple numerical operations with two operands that we are going to expose for this web service.
|
public class Service1 : WebService { [WebMethod] public float Add(float a, float b) { return a + b; }
[WebMethod] public float Subtract(float a, float b) { return a - b; }
[WebMethod] public float Multiply(float a, float b) { return a * b; }
[WebMethod] public float Divide(float a, float b) { if (b == 0) return -1; return a / b; } } |
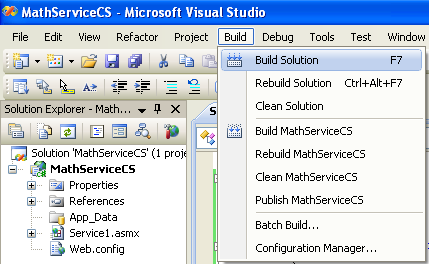
Next, build the solution. Make sure there is no error; else you need to resolve it.
Running and Testing the Web Service Application
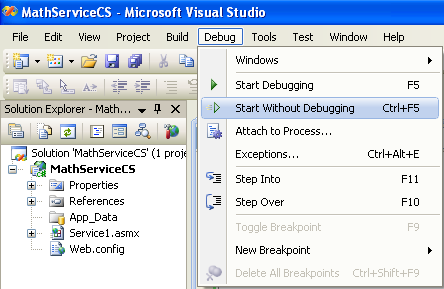
Then, run the solution without debugging.
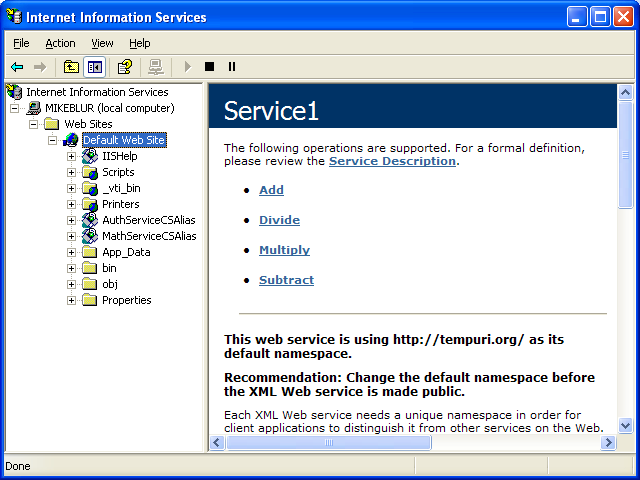
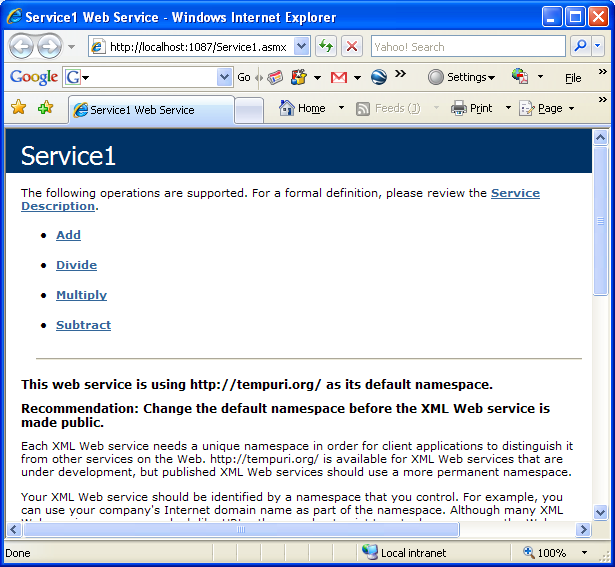
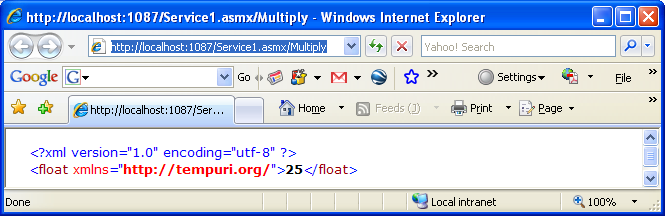
The ASP .NET development server should be launched with the following web page seen through browser. We will do a testing on the exposed method. Click Multiply link.
Key-in the values for a and b parameters and click the Invoke button.
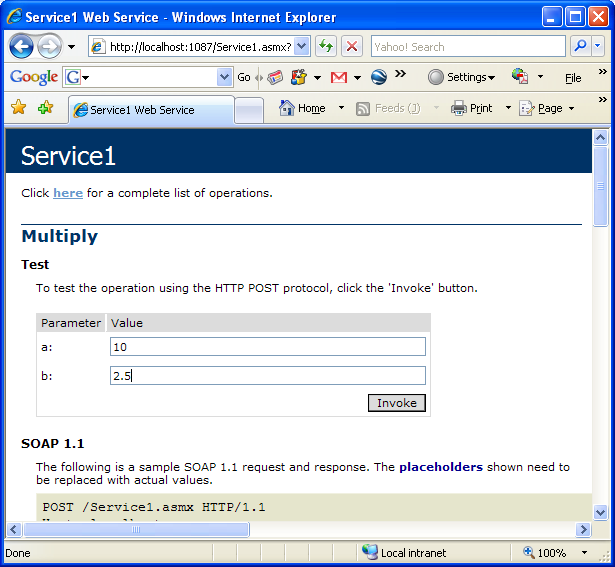
The result will be displayed in the XML page. Make sure the result is correct.
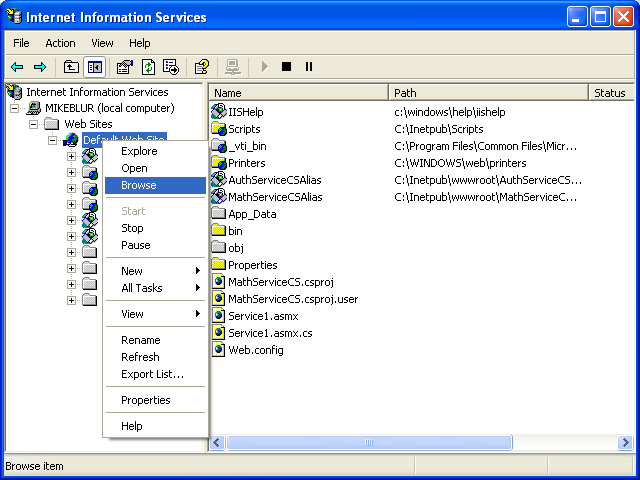
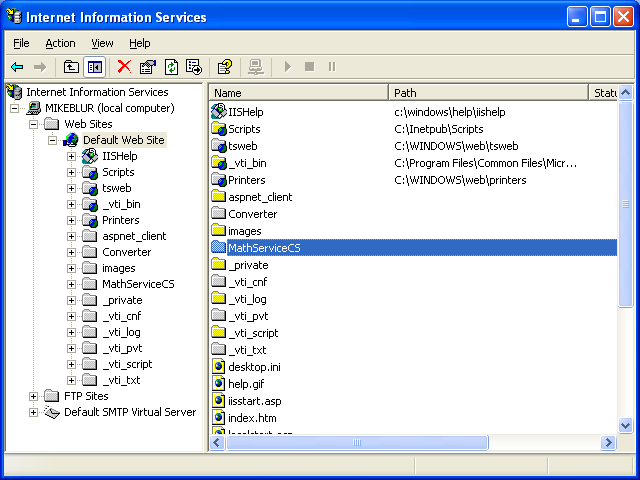
Let verify the created solution through the IIS snap-in. Open the IIS snap-in and we can see the solution folder there however this is still just a normal physical path to the IIS web server. We need several tweaking such as creating the virtual directory and setting the first document to be served for the user access. Forget about it at this moment, let continue our task in creating a new project to send two values to the web service through console, then let the web service do the addition operation and send back the result to the console.
The C# Console Application
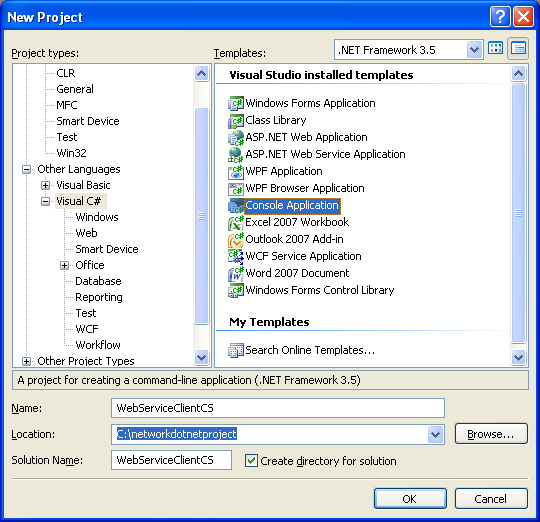
Create a new C# console application project in new solution.
You can use the following project and solution name if you want. In this case, the project solution is created in different folder than the IIS physical path as done in the previous exercise for the web service. We just to see that the web service is totally location independent: local to the current solution, on the local IIS web site or on another web site of the Internet domain.
Add the following using directive.
| using System.Net; |
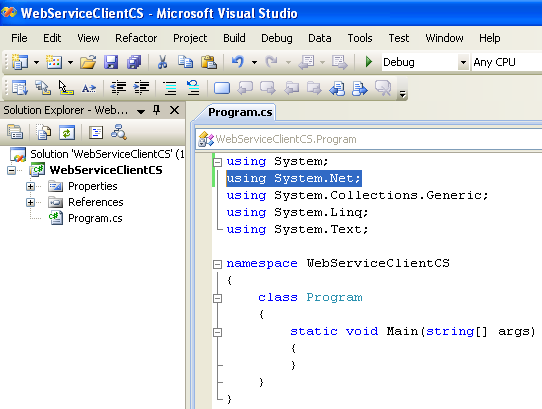
Add/edit the code as given below which request a numerical addition operation from the web service.
|
namespace WebServiceClientCS { /// <summary> /// Sample class that demonstrates calling a Web service /// with a custom HTTP header. /// </summary> class WebServicesMathClient { [STAThread] static void Main(string[] args) { // Get x,y from the console Console.Write("X:"); int x = int.Parse(Console.ReadLine()); Console.Write("Y:"); int y = int.Parse(Console.ReadLine()); // Instantiate the derived math service MyMathService mathService = new MyMathService(); // Call the add method and print the result float result = mathService.Add(x, y); Console.WriteLine(x + " + " + y + " = " + result); } }
/// <summary> /// MyMathService gets a WebRequest and sets the default credentials /// and a custom header on the request. If you need control over the /// HTTP semantics of a Web service request it is much better to override /// the auto generated proxy class so that you don't lose the changes when /// the proxy gets re-generated. /// </summary> class MyMathService : WebServiceClientCS.localhost.Service1 { // GetWebRequest is called before the SOAP request is sent protected override WebRequest GetWebRequest(Uri url) { // Create a request based on the supplied URI WebRequest request = WebRequest.Create(url); // Set default credentials request.Credentials = CredentialCache.DefaultCredentials; // Set a custom header value on the request request.Headers["custom-header"] = "custom-value";
return request; } } } |

Setting-up the IIS Web Server
Take note for the second class in the code. It is a reference to the web service named Service1 created previously. Then, we need to add a reference to this web service located on the local IIS web server to this project so that all the related reference can be resolved. Before that we need to 'setup' or configure the IIS web server so that the previous web service can be accessed directly from the browser instead of using the ASP .NET development server.
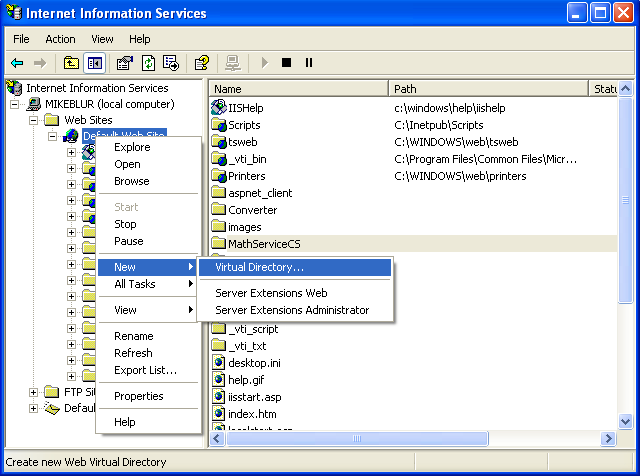
To complete this task, open the local IIS snap-in. Select the Default Web Site folder > Right-click mouse > Select New menu > Select Virtual Directory sub menu. We need to map the IIS 'directory' to the physical path of the web server.
Click Next button for the following wizard page.
|
|
|

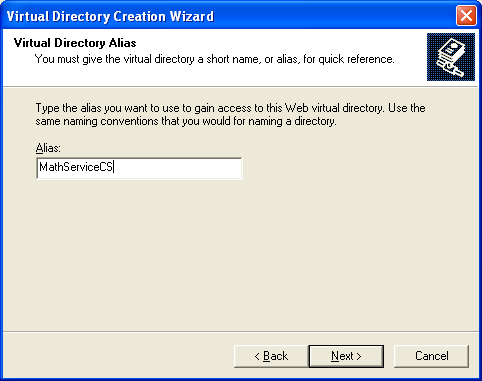
Type the virtual directory alias. You can use different alias name if you want. Click the Next button.
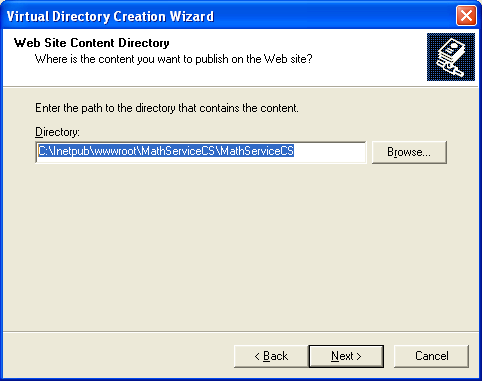
Click the Browse button and browse the web service project folder. Make sure it is the project folder not the solution folder. Click the Next button.
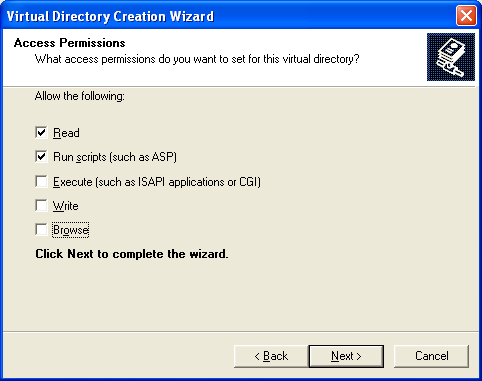
The default access permission given which are: Read and Run script (such as ASP) are enough for this web service. Click the Next button.
Click Finish button.

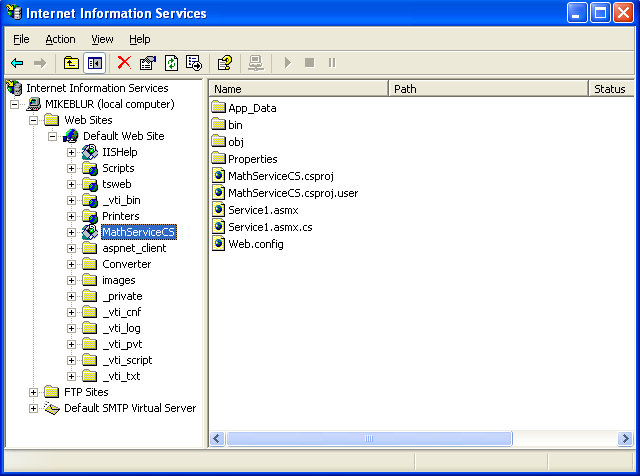
Now, you can see the created virtual directory folder under the Default Web Site folder.
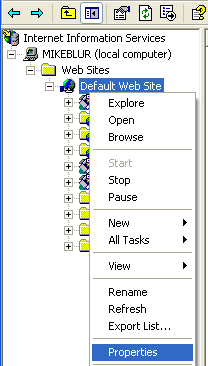
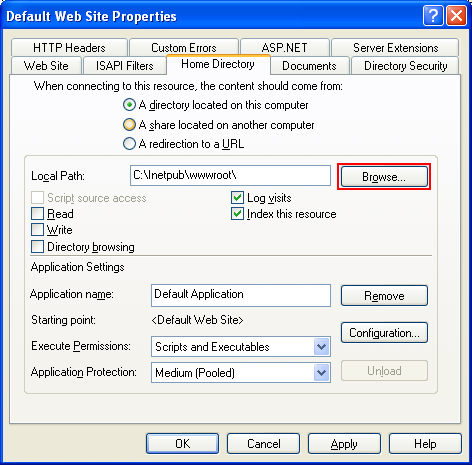
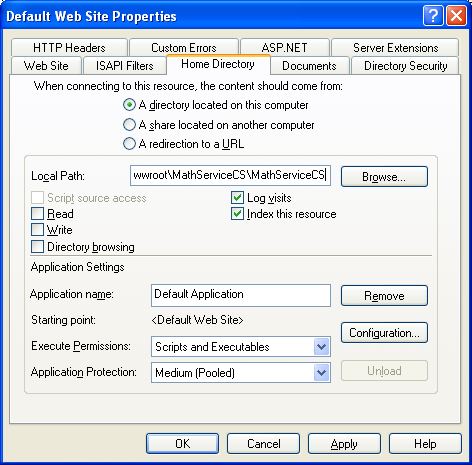
Next, set the physical path for IIS. Open the IIS property page > Select the Home Directory page >
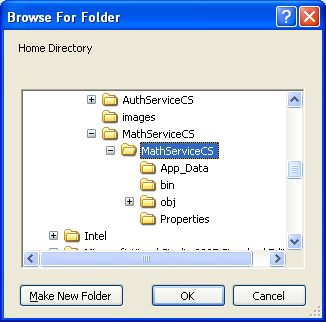
Click the Browse button, find and select the project physical path as done for the IIS virtual directory previously.
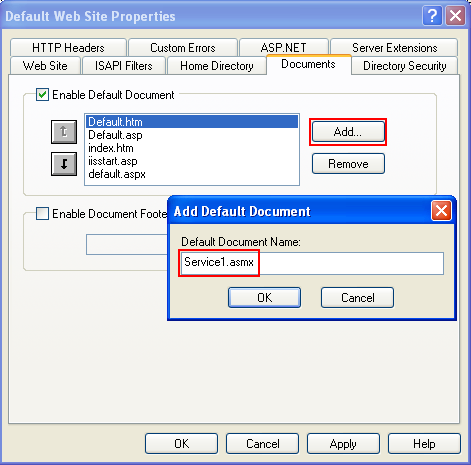
Then set the first document to be served when user access the web site. Click the Document page > Click the Add button > Add Service1.asmx in the text box > Click OK > Move the page to the top > Click OK to close and save the IIS property settings.

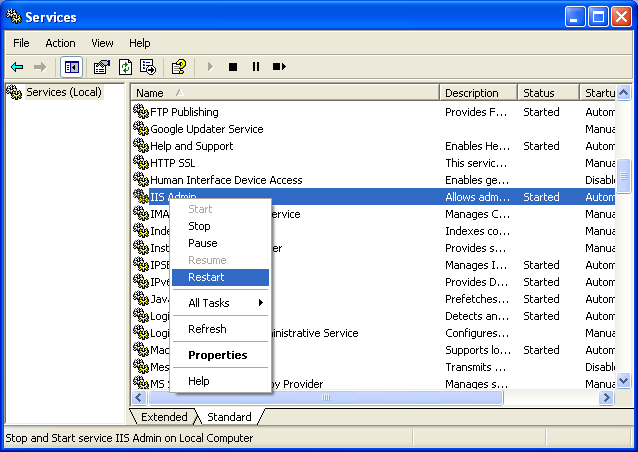
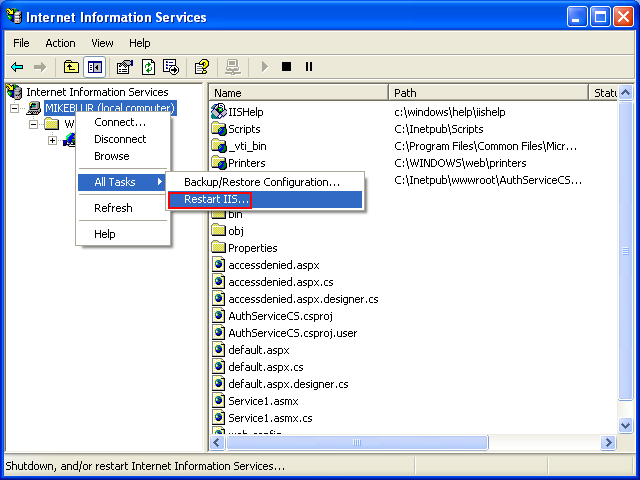
Next, we need to restart the IIS web server. You can use the Windows Services (Start > Administrative Tools > Services) snap-in or using the IIS snap-in short-cut menu.
Then we can test the web service through the browser using http://localhost/ or http://127.0.0.1 or directly from the IIS snap-in.